Right controls completed

Progress today

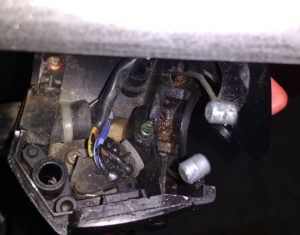
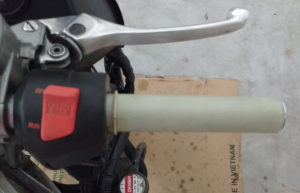
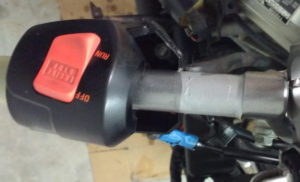
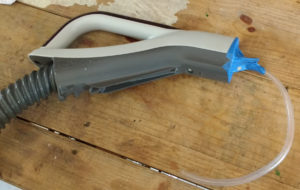
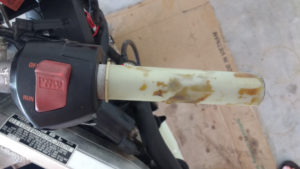
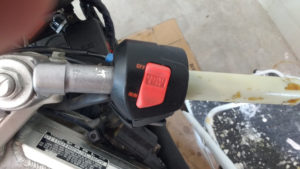
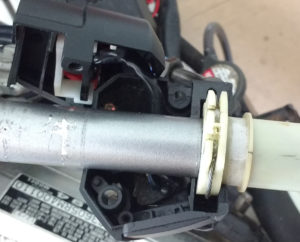
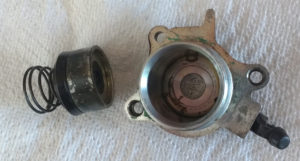
Separated right switch case halves and removed throttle cable ends from the throttle tube – I had plenty of slack with the carburetors out.

Cleaned out the switch housing and lubed both cables with WD40. Both cables slide easily in both directions.

Cleaned off remaining grip adhesive on throttle tube. Sanded and cleaned the right clip on and cleaned out the inside of the tube.

Reassembled cables, switch housing, and throttle tube on the bar. Tightened the nuts at the switch end of the throttle cables.

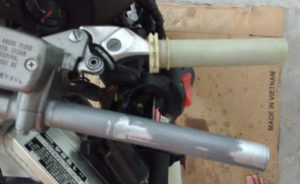
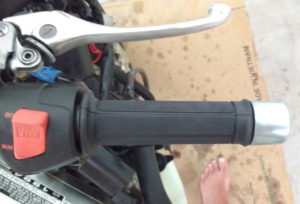
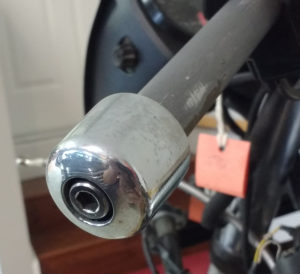
Installed new grip and the polished bar end weight.

Right handlebar complete.

Bled rear brake, carbs out

Progress today

Bled the rear brake caliper by the manual method.  Pumped the pedal and bled to Mityvac hose without pumping any vacuum pressure.  Saw bubbles in the fluid from the nipple the first couple of cycles, then none after.  Nice firm pedal feel and the brake works now.

Loosened clamp and removed choke cable at the carb end.  Unscrewed the manual idle adjustment cable/screw from the carb assembly. Left the knob and cable on the frame.

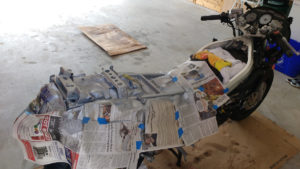
Loosened all 8 carb boot clamps. Soaked each boot with WD40 to help them slide. Levered carb assembly up off the boots – two rear cylinders forward first, then front ones back/up.

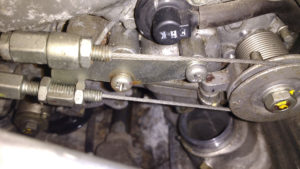
Once carbs up off the ports, removed the throttle cable holder and pulled cable ends from the carb wheel.  Cables now loose enough at the handgrip to remove and clean that assembly, as well.

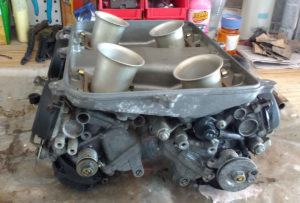
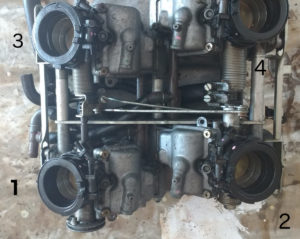
Carbs on the bench.  Will have to determine minimum disassembly needed to clean all passages/jets and change out o-rings and seals. Noticed that float bowl screws, at least, are JIS (Japanese Industrial Standard) types.  Will get the right screwdrivers before attempting to loosen those – they are very tight.

carb assembly, underside

A little worried that the choke mechanism doesn’t move much.  Can’t see any obvious problem, but not sure how it’s supposed to work, either.  Needs investigation. I hope I haven’t bent something while levering carbs off the intake ports.

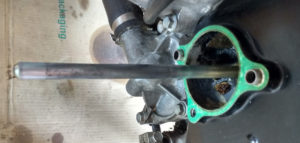
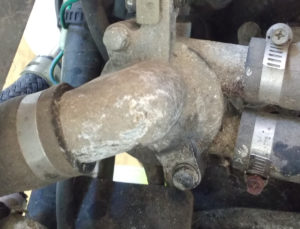
Thermostat housing also now accessible. Will replace thermostat and clean housing while we have access.

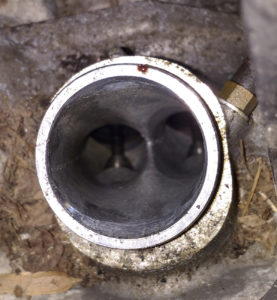
Took a look in one of the ports (#2). Not much to see, at least nothing alarming.

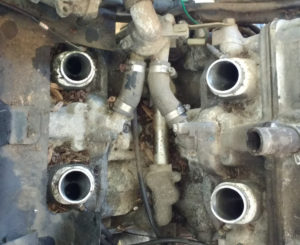
The engine “v” needs a good vacuum and clean, too.

Then stuffed paper towels into intake ports to keep everything out while apart.

Bled front brakes, filled oil

Uploaded updated checklist [V10].

Progress today

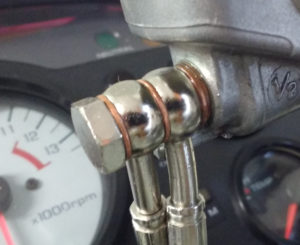
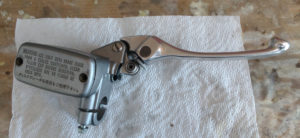
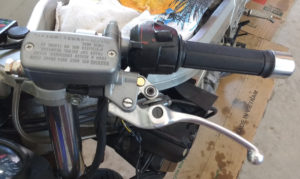
Installed the brake master cylinder and lever assembly on the right clip-on. Reconnected the two brake lines and again attempted to bleed at calipers with the Mityvac.  Still got no pressure with the bleed nipple open.  Then tried manual technique of pumping lever and then opening bleeder.  After a couple of cycles, I noticed leakage – fluid pushing out of the banjo bolt – at the master cylinder end.  It looked like it was coming from between the two hose fittings.

Took the assembly apart and replaced the copper washers.  As I was doing that, it looked like the bolt needed an extra washer at the cylinder end to make a good seal – like the threads were not seating all the way.  Added 4th washer and buttoned it all up again.

Filled reservoir, again applied the bleeder, and … success.  No more leak. Had pressure and was able to pull fluid.  Did both sides with the Mityvac, then a couple of cycles each manually with the lever.  Now have a good firm lever, and piston action at both calipers.

Reinstalled front brake switch on master cylinder [still need to attach wiring – after right switchgear assembled].

Temporarily pulled the brake master clamp off the right clip-on and masked/spray painted the metallic matte nickel over scratched areas on the bar under and near where the master attaches.

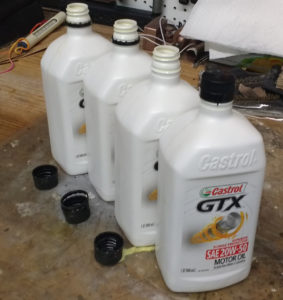
Lastly, refilled the bike with engine oil, using about 3.3 quarts of the Castrol 20W-50.

Cleaned & inspected clutch; turned engine over

Progress today

Decided to disassemble, clean, and inspect the clutch to see why it wouldn’t disengage with the lever, rather than wait until the bike is running and try to jolt it loose.

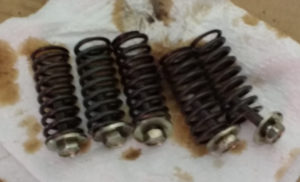
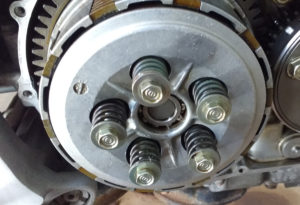
Removed side cover. Pulled out the bolts/springs and removed the pressure plate. Pulled out the lifter bearing with its guide.  It rolls smoothly and is clean.

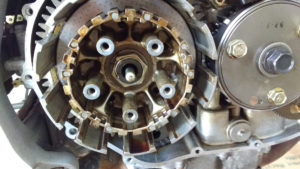
Inside the basket the plates moved somewhat as a unit, but there was no sign of crust or goop that would explain stickiness.

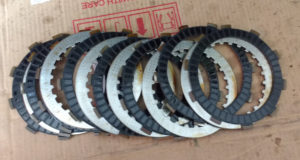
Pulled out each of the discs and plates, inspected for wear, warping, and heat (on metal plates), and stacked in order of removal. They all look in good shape.

Pulled out the judder spring and noted concave side out. No damage seen anywhere, and no debris or other crust found in the clutch basket.

Wiped each disc and plate and reinstalled them in the basket.  Installed and gradually tightened – star pattern – and torqued (9 ft/lbs) the pressure plate bolts over the springs.

Tested the clutch again and found it operates smoothly and disengages readily with the lever in.  I could see/hear the plates sliding against each other with the clutch lever applied as I turned the rear wheel in gear, but the wheel spins easily.  All good.

Later …

With the right side engine cover off again, I think it (past) time I do a quick check to be sure the engine turns over and nothing’s impeding the pistons.

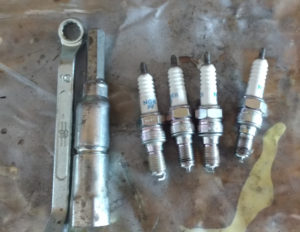
Unbolted the radiator brace and hinged the radiator out enough to get at the front spark plugs.  Used the handy Honda-supplied tools and removed the plugs from front and rear.

Stuffed the long tube attachment in and sprayed WD40 in the general direction of each spark front plug hole. Took a peek with led light in the rear holes to see if I could make out the piston tops.  Saw some grit/dirt at the bottom of both shafts.  Insect nesting or castings maybe?  Used custom cardboard-roll-and-bleeder-tube vacuum adapter and sucked the stuff out.

Then sprayed WD40 into the rear cylinders.  Let the WD40 work for about an hour in case there is any rust or crust.

Turned the engine by hand with a ratchet handle and 17mm socket on the nut at the end of the crankshaft. A little slow at one point on first rev, but smooth – no grinding or other metallic noises.  Just whoosh of air moving.  The second and subsequent rotations smooth and even. Very nice.

Reinstalled spark plugs, attached radiator bracket, and buttoned-up right side cover.

Brakes not bled, front master rebuilt

Progress today

One step forward, one back 🙂

Filled rear brake reservoir and attempted to bleed at the caliper with the Mityvac.  Pulled fluid through the system, but could not get any hydraulic pressure – pedal does not push pads.  Tried several passes.  No luck.  Air in the master maybe?  Will learn more about that and try again later.

Filled front brake master cylinder and attempted bleeding, starting at the left caliper.  Could not get vacuum with the Mityvac.  As soon as I cracked the bleed nipple, pressure at the Mityvac immediately dropped to zero.  Same problem on the other side. Pulled no fluid.  Also tried manual method pumping the lever while nipple open, then closing.  No effect.

The only part of the system I haven’t taken apart by now is the master cylinder. It seemed to pump fluid when I first tested on the bar, but could be the problem.

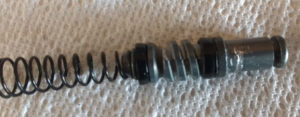
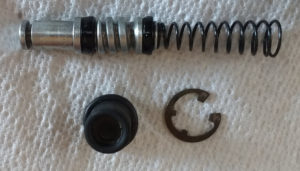
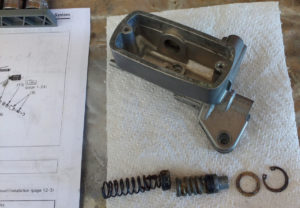
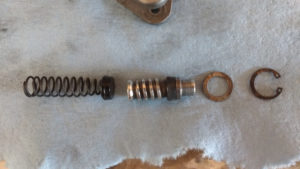
So, I removed the master cylinder assembly and disassembled.  It was difficult to get the circlip out, but I eventually did.  Two rubber piston seals looked good.  Metal piston did not look exactly like the service manual in shape, but obviously functioned. Piston was scored and scratched with sharp metal edges in two spots. Crash damage from my slide, perhaps.

Filed the damaged areas, wirebrushed, and polished the piston.

Also cleaned the inner bore of the master.  It didn’t have any apparent scoring or crusting.

Reassembled the master with brake fluid lube and attached the lever assembly.  Piston action feels smooth. Ready to reinstall on the bar and connect lines.

Continued disassembly of the right handlebar by removing the grip.

Then separated halves of the switch assembly.  Pulled out and spent a while with sandpaper cleaning that once-bright orange kill switch. Looks much better afterward.

Not yet figured out how to get throttle cables disconnected and the switch housing and throttle tube off the bar.

Ran WD40 down both throttle cables until it appeared at the carb ends. Cables are clear and move freely.  Throttle twist action is still very stiff, and does not spring back.  Further disassembly, cleaning required.  Probably some clean and lube needed in carb linkages as well.

Next

Getting harder to avoid pulling the carburetors: the last major mechanical system on the list.  Probably need to do that to get the throttle cables off, anyway.


Flushed/filled coolant; rehabbed slave cylinder, bled clutch

Progress today

Flushed 4 cycles of fresh water through the radiator/hoses/pump loop. On first two runs the water was still quite green from the engine side.  All clear, no obvious grit or residue in the water by the fourth.  Filled radiator and half of reservoir bottle with fresh 50/50 antifreeze.

Filled clutch master cylinder reservoir and bled clutch line with the Mityvac.  Got good strong lever feel, but would not go full travel.  Felt like the push rod was not going anywhere.

Pulled slave cylinder from engine, noting the cylinder was out to the edge of the cylinder. Reconnected hydraulic line at the slave and bled again.  Used hydraulic pressure with the clutch lever to gently push piston out of the cylinder. It would not move by hand.

Pulled rubber piston seal, found in excellent condition after crusted gunk cleaned out. Polished both the piston and cylinder.

Lubed piston assembly with a little brake fluid, and reassembled.  Piston readily moved in cylinder when pushed against the spring.

Reinstalled the slave cylinder and bled the line.  Could feel apparent motion against the push rod, smooth lever action, but the clutch does not disengage. Tested statically – tried turning rear wheel while bike in first gear.

Next

Will need more thought, research, testing.  May be a good idea to disassemble the clutch and inspect/clean/lube.

PS. Further research shows this seems to be a common problem.  Plates may just be stuck together – by time or old oil/sludge.  Methods found online to “break” them loose by running engine, shifting into gear.  May try that after other systems’ overhauled and the engine is running.

Clutch master repaired, installed; metal bits polished

Returned from Wrightsville Beach last night.

Uploaded updated checklist [V9].

Progress today

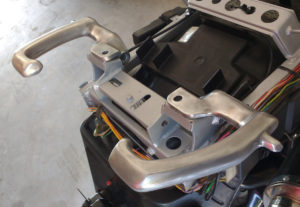
Further polished the bar end weights (which didn’t improve much), clutch lever (excellent), and passenger grab rails, which look about right now.

Cleaned out the clutch master cylinder reservoir.  Used a brass wire brush and a lot of brake cleaner to get all the gunk.

Disassembled the working parts of the master cylinder.  It was a challenge and a little intimidating. First dug out the rotted rubber boot. Then had to clean and pick quite a bit before I could even see the circlip.  Got that out and found the piston assembly was seized/locked in place.  Eventually gently pounded it out from the other (banjo bolt) end.  Parts were highly gunked and metal somewhat corroded. After basic cleaning, I test fitted them back in the cylinder, and the piston would not slide in the bore. The inside of the cylinder had some crunchy deposits.

Sanded, wirebrushed, and buffed/polished the piston and cleaned the spring.

Rubber seals look ok and fit well.  Scraped and cleaned the inside of the cylinder bore. Reassembled all the parts and then had excellent, smooth action.

Installed lever and switch to the master. Fitted new master diaphragm and cover screws. Not yet loaded with brake fluid and needs new external boot.

Installed clutch master assembly on the left handlebar.  Connected clutch switch wires and installed the stainles braided line with the new banjo bolt and washers. Had to rotate the fitting about 90deg to get the right angle on it.  Fitted new handlebar grip.


Polished bar weights, levers

Progress today

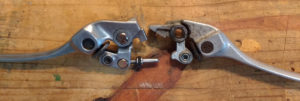
Separated the clutch lever assembly from the master cylinder.  Took it apart, cleaned and polished components, and reassembled.  Freed up the adjuster, smoothed push rod, pivot.

Pulled brake lever from bike.

clutch lever after rework, brake lever before polishing

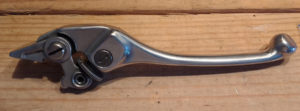
Polished brake lever assembly, greased pivot bushing and pin, then reinstalled on the brake master cylinder.

brake lever cleaned, polished

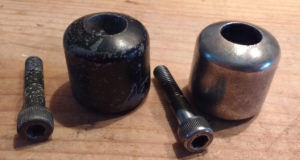
Polished two bar end weights. Had intended to wire brush off the old black paint, then repaint, but polishing worked well, and I like the way they look with black grips.

weights before and after initial wire brushing
after fine polish

Got the new oil filter and installed it.

Clutch slave cleaned & inspected, master off

Uploaded updated checklist [V8].

Progress today

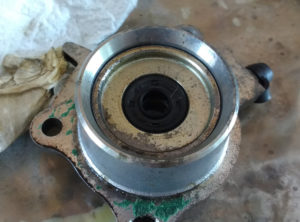
Removed speedometer sending unit to access clutch slave cylinder banjo bolt.  Cleaned the inner plastic rotating head and the opening in the cover plate.
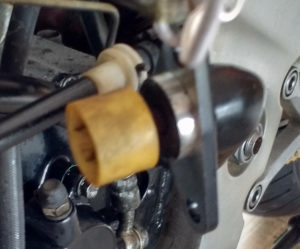
Disconnected both ends (banjo bolts), drained the little remaining fluid, and removed the clutch hose.  Removed the clutch slave cylinder.
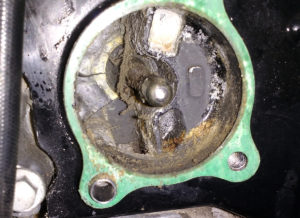
clutch slave cylinder hole, before

Scrubbed and polished the slave end of the clutch lifter rod behind the slave cylinder and cleaned out the cavity around it.  The rod was crusty, but moves smoothly in and out of its bore.
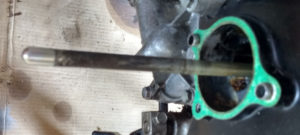
before
after

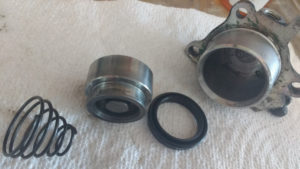
Cleaned out the slave cylinder with particular attention to the area inside the bore next to the piston.  Without hydraulic pressure, I could not push out the piston, so did not attempt disassembly.  Both the rubber oil and piston seals seemed sound, flexible, and undamaged from what I could see and feel.

before
after

Cleaned out old grease from within the oil seal, applied fresh,  and refitted the slave cylinder to the engine.  Will remove and rebuild the slave cylinder later if shown to have failed/stuck.

Reinstalled speedo sender and installed the new stainless braided clutch line at the slave cylinder end. Torqued banjo bolt to 15 ft/lbs.  Ran the master end of the line to near the handlebar for later connection.
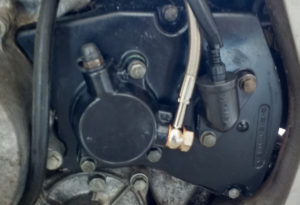
Removed the left handlebar end-weight, grip, switch assembly, and choke lever, disconnected the choke cable, and pulled of the master cylinder/lever assembly.
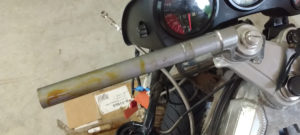
Thoroughly cleaned and smoothed the bar to remove old adhesive and some rough metal.

Cleaned out and scrubbed the left switch assembly which was full of crud and somewhat corroded. Used a toothbrush with brake cleaner, then contact cleaner, lastly WD40. This smoothed the switches’ action considerably.  Also cleaned and slightly greased the choke lever.
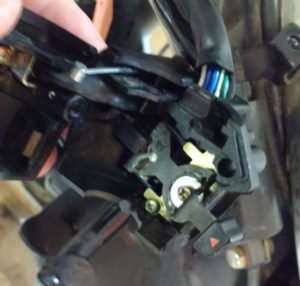
Flowed WD40 down the choke cable.  Pulling on the lower end showed the cable moving freely in its case. Motion still seems to be stiff at the carb end – will check, clean, and lube there after carb removal.

Reassembled the switch and choke lever assembly, polished the mounting screws, and reinstalled on the left handlebar.

Next:
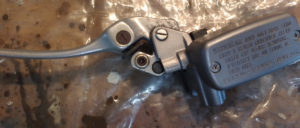
Disassemble and evaluate the guts of the clutch master cylinder. Hopefully it just needs cleaning, but may need rebuild with new seals.  Also polish up the clutch lever and its adjuster, and lube the pivot.

Right engine cover & subframe painted, reservoir in

Progress Sunday

Wirebrushed, sanded, primed, and painted the right engine cover. Used DupliColor black gloss engine paint. Hung in the cooler, lower humidity sunroom to ensure good drying and hardening.  It was 90deg F, 80% humidity outside.

Progress today

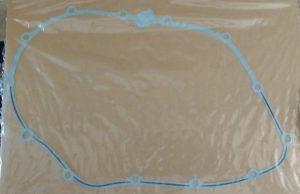
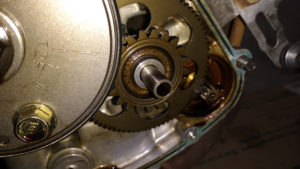
Cleaned old gasket off of engine crankcase with a small, sharp wood chisel, having covered the internal components with shop towels to keep dirt/debris out of the clutch and gears. Installed new gasket on the locating dowel pins.

Nudged cover over the pins and starter drive pin/bush (which had fallen out when I took the cover off).

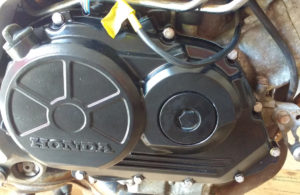
Bolted up the cover with new stainless bolts and washers (M6x25, M6x30 hex head) from Lowe’s, except for one original bolt at top holding pulser wiring clip. Looks very nice now.  More of a semigloss finish, which goes well with other black bike parts.

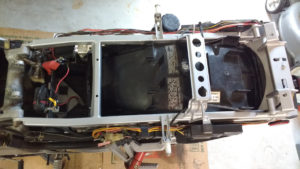
Sanded, degreased and masked off the upper part of the rear subframe.  It had some rusty patches and scrapes in the steel. Painted the subframe, using the same Rustoleum metallic matte nickel color.

Ran a 6mm bolt through the right upper fairing mounting bracket a few times and freed the formerly jammed threads. I was lucky it worked. Installed my hand-made “frankenstein bolts” on each side.

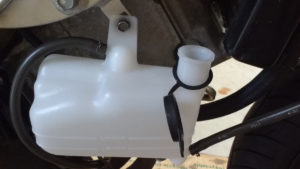
Reinstalled the new coolant reservoir bottle with existing cap and hoses.