Bled rear brake, carbs out

Progress today

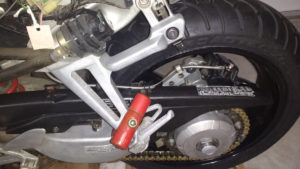
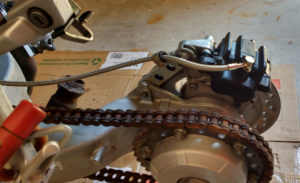
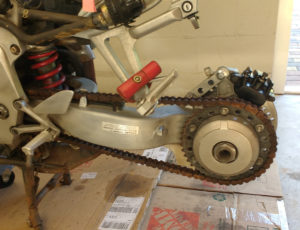
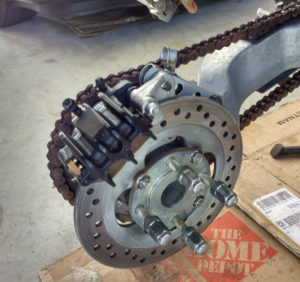
Bled the rear brake caliper by the manual method.  Pumped the pedal and bled to Mityvac hose without pumping any vacuum pressure.  Saw bubbles in the fluid from the nipple the first couple of cycles, then none after.  Nice firm pedal feel and the brake works now.

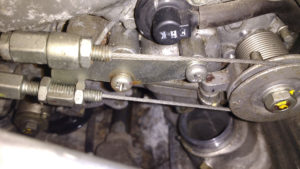
Loosened clamp and removed choke cable at the carb end.  Unscrewed the manual idle adjustment cable/screw from the carb assembly. Left the knob and cable on the frame.

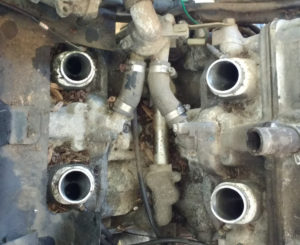
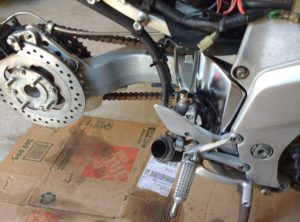
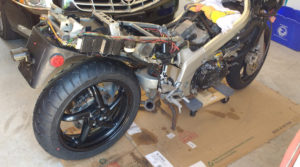
Loosened all 8 carb boot clamps. Soaked each boot with WD40 to help them slide. Levered carb assembly up off the boots – two rear cylinders forward first, then front ones back/up.

Once carbs up off the ports, removed the throttle cable holder and pulled cable ends from the carb wheel.  Cables now loose enough at the handgrip to remove and clean that assembly, as well.

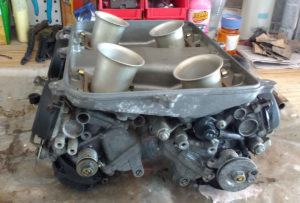
Carbs on the bench.  Will have to determine minimum disassembly needed to clean all passages/jets and change out o-rings and seals. Noticed that float bowl screws, at least, are JIS (Japanese Industrial Standard) types.  Will get the right screwdrivers before attempting to loosen those – they are very tight.

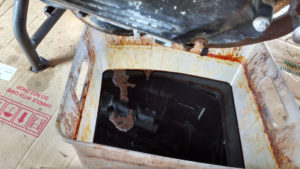
carb assembly, underside

A little worried that the choke mechanism doesn’t move much.  Can’t see any obvious problem, but not sure how it’s supposed to work, either.  Needs investigation. I hope I haven’t bent something while levering carbs off the intake ports.

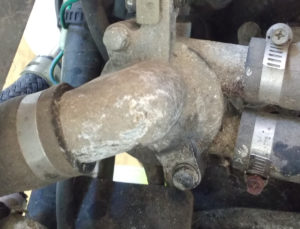
Thermostat housing also now accessible. Will replace thermostat and clean housing while we have access.

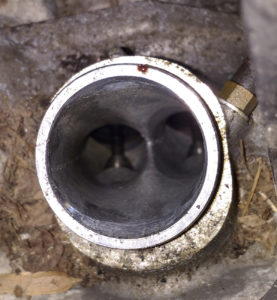
Took a look in one of the ports (#2). Not much to see, at least nothing alarming.

The engine “v” needs a good vacuum and clean, too.

Then stuffed paper towels into intake ports to keep everything out while apart.

Bled front brakes, filled oil

Uploaded updated checklist [V10].

Progress today

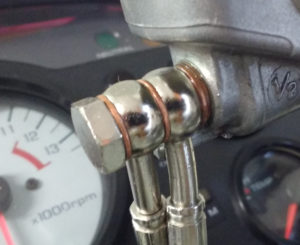
Installed the brake master cylinder and lever assembly on the right clip-on. Reconnected the two brake lines and again attempted to bleed at calipers with the Mityvac.  Still got no pressure with the bleed nipple open.  Then tried manual technique of pumping lever and then opening bleeder.  After a couple of cycles, I noticed leakage – fluid pushing out of the banjo bolt – at the master cylinder end.  It looked like it was coming from between the two hose fittings.

Took the assembly apart and replaced the copper washers.  As I was doing that, it looked like the bolt needed an extra washer at the cylinder end to make a good seal – like the threads were not seating all the way.  Added 4th washer and buttoned it all up again.

Filled reservoir, again applied the bleeder, and … success.  No more leak. Had pressure and was able to pull fluid.  Did both sides with the Mityvac, then a couple of cycles each manually with the lever.  Now have a good firm lever, and piston action at both calipers.

Reinstalled front brake switch on master cylinder [still need to attach wiring – after right switchgear assembled].

Temporarily pulled the brake master clamp off the right clip-on and masked/spray painted the metallic matte nickel over scratched areas on the bar under and near where the master attaches.

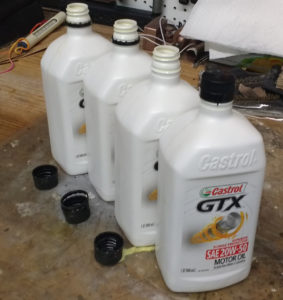
Lastly, refilled the bike with engine oil, using about 3.3 quarts of the Castrol 20W-50.

Brakes not bled, front master rebuilt

Progress today

One step forward, one back 🙂

Filled rear brake reservoir and attempted to bleed at the caliper with the Mityvac.  Pulled fluid through the system, but could not get any hydraulic pressure – pedal does not push pads.  Tried several passes.  No luck.  Air in the master maybe?  Will learn more about that and try again later.

Filled front brake master cylinder and attempted bleeding, starting at the left caliper.  Could not get vacuum with the Mityvac.  As soon as I cracked the bleed nipple, pressure at the Mityvac immediately dropped to zero.  Same problem on the other side. Pulled no fluid.  Also tried manual method pumping the lever while nipple open, then closing.  No effect.
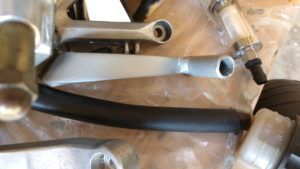
The only part of the system I haven’t taken apart by now is the master cylinder. It seemed to pump fluid when I first tested on the bar, but could be the problem.
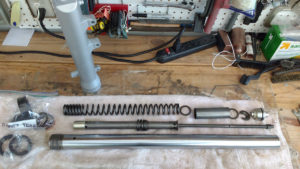
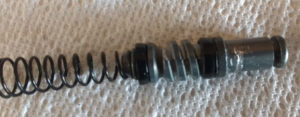
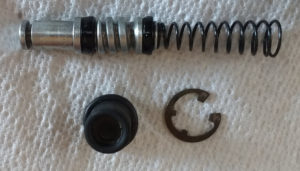
So, I removed the master cylinder assembly and disassembled.  It was difficult to get the circlip out, but I eventually did.  Two rubber piston seals looked good.  Metal piston did not look exactly like the service manual in shape, but obviously functioned. Piston was scored and scratched with sharp metal edges in two spots. Crash damage from my slide, perhaps.

Filed the damaged areas, wirebrushed, and polished the piston.

Also cleaned the inner bore of the master.  It didn’t have any apparent scoring or crusting.

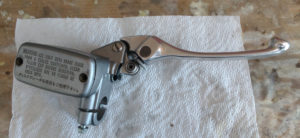
Reassembled the master with brake fluid lube and attached the lever assembly.  Piston action feels smooth. Ready to reinstall on the bar and connect lines.

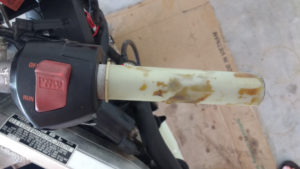
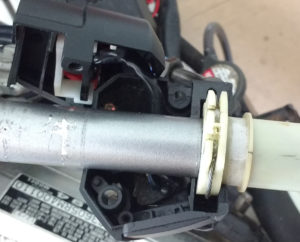
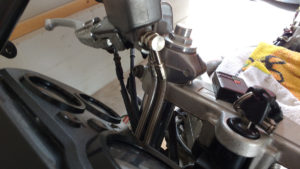
Continued disassembly of the right handlebar by removing the grip.

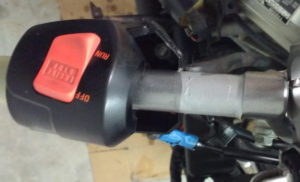
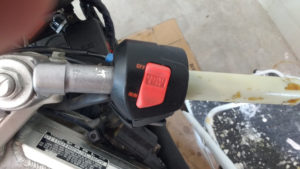
Then separated halves of the switch assembly.  Pulled out and spent a while with sandpaper cleaning that once-bright orange kill switch. Looks much better afterward.

Not yet figured out how to get throttle cables disconnected and the switch housing and throttle tube off the bar.

Ran WD40 down both throttle cables until it appeared at the carb ends. Cables are clear and move freely.  Throttle twist action is still very stiff, and does not spring back.  Further disassembly, cleaning required.  Probably some clean and lube needed in carb linkages as well.

Next

Getting harder to avoid pulling the carburetors: the last major mechanical system on the list.  Probably need to do that to get the throttle cables off, anyway.


Polished bar weights, levers

Progress today

Separated the clutch lever assembly from the master cylinder.  Took it apart, cleaned and polished components, and reassembled.  Freed up the adjuster, smoothed push rod, pivot.

Pulled brake lever from bike.

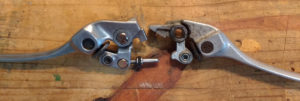
clutch lever after rework, brake lever before polishing

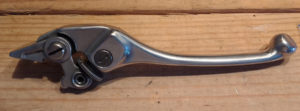
Polished brake lever assembly, greased pivot bushing and pin, then reinstalled on the brake master cylinder.

brake lever cleaned, polished

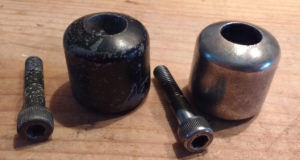
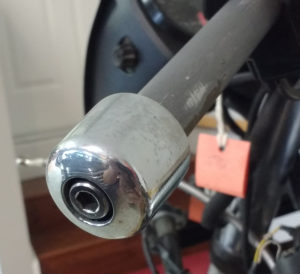
Polished two bar end weights. Had intended to wire brush off the old black paint, then repaint, but polishing worked well, and I like the way they look with black grips.

weights before and after initial wire brushing
after fine polish

Got the new oil filter and installed it.

Oil out; front brake lines, chain guard installed

Progress today

Drained the engine oil. Very thick and black. Not much sediment, however.

Cleaned, reinstalled, and torqued oil drain bolt.  Removed old oil filter.  Fitted new, but found the one I had belongs to 1982-88 VF700/1000s, not this VFR.

Will find another filter locally.

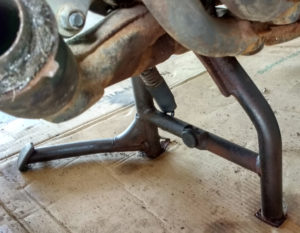
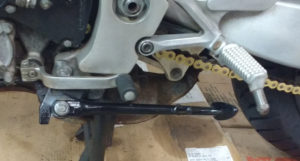
Scrubbed, wire brushed, and cleaned the center stand with WD40.

Side stand looks good, too, after reinstalling spring.

Installed two stainless braided front brake lines.

The double banjo arrangement at the master was a little fiddly. Fit only with left side hose down. Instructions a little ambiguous on that, but probably consistent.  Torqued all three banjo bolts to 15ft/lbs.

Installed the chain guard and routed the new rear brake line through the slots on the guard.

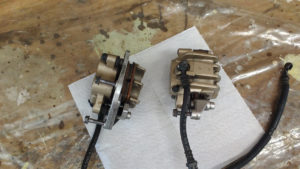
All 3 Brake Calipers Installed

Progress today

New(er) front caliper assembly

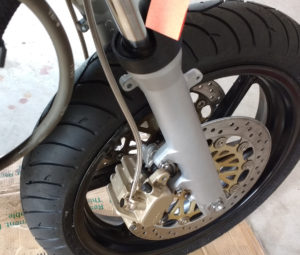
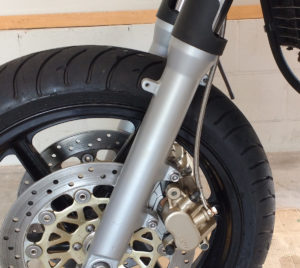
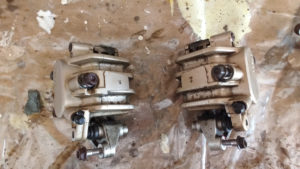
Drained and disassembled new-to-me right front brake caliper. Cleaned/polished interior, piston edges, exterior, hanger pin, etc.

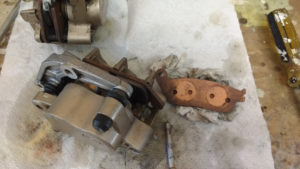
Right caliper mostly apart

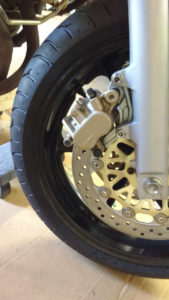
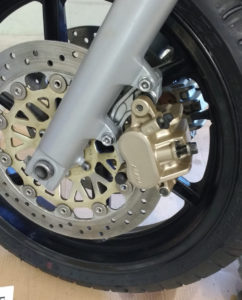
Checked existing pads.  Found them to be EBC HH in very good condition.  They measure same thickness as new pads. Scrubbed braking surfaces and reinstalled the pads in the caliper. Reassembled caliper and installed on the fork leg with polished bolts.

Completed same process for the left front caliper, but found extra part at the end.

Pad spring and otherwise assembled left caliper

Disassembled again, assembled with all parts, and installed on the fork.

Removed rear brake assembly including pedal/peg/master cylinder unit, fluid reservoir, and caliper with hoses.  Disassembled new to me rear brake caliper. As for the fronts, found EBC HH pads with little wear.

While the rear was naked, scrubbed and wirebrushed the swingarm, hub, sprocket, brake disc, and brackets. Polished brake mounting bolts.  Reassembled rear brake caliper and installed on the bike.

Right fork leg apart

Progress last night

Painted brake pedal in the new right peg assembly. Nice match – in color and texture/sheen – for original anodized surfaces on the bike.  Used Rustoleum automotive gray primer and Rustoleum metallic matte nickel paint.  Will also use for lower fork legs and probably other bike parts as we go.

Progress today

Disassembled right fork leg. Cleaned parts. Sanded, degreased, primed, and painted right fork lower.  Re-painted left lower to match.

Will reassemble both forks after paint has 48hrs to harden.  Also need to slot a 2′ length of 1.5″ pvc pipe to fit tubes to use as a bush/seal driver.

Front brakes apart

Progress today

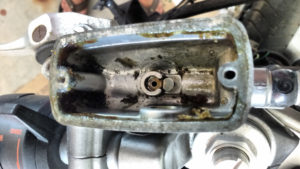
Emptied and cleaned out front brake master cylinder.

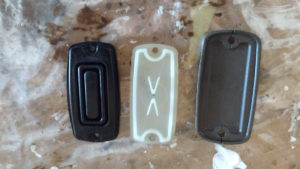
diaphragm, plate, cover sequence/down sides for master cylinder

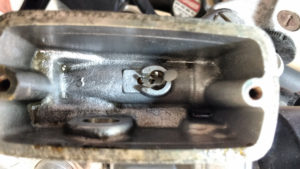
Tested brake lever and found smooth action and pumps fluid.  Noted tiny part loose in bottom.

Checked against clutch master for position of that piece …

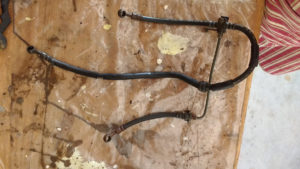
Removed front brake assembly from the bike. Disassembled to leave hose assembly for later sale (?) and recover the right side reflector and bracket.  Did basic clean on parts and fittings.  Calipers will need teardown and rebuild. OEM Piston seals and boots on order.


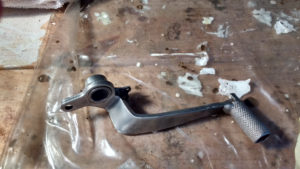
Later … wire-wheeled new (old) brake pedal, received today.