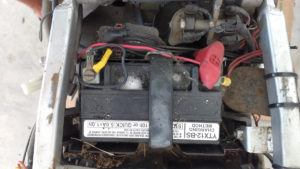
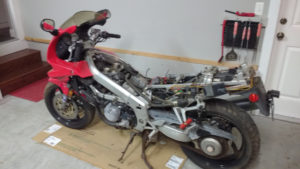
Brakes not bled, front master rebuilt

Progress today

One step forward, one back 🙂

Filled rear brake reservoir and attempted to bleed at the caliper with the Mityvac.  Pulled fluid through the system, but could not get any hydraulic pressure – pedal does not push pads.  Tried several passes.  No luck.  Air in the master maybe?  Will learn more about that and try again later.

Filled front brake master cylinder and attempted bleeding, starting at the left caliper.  Could not get vacuum with the Mityvac.  As soon as I cracked the bleed nipple, pressure at the Mityvac immediately dropped to zero.  Same problem on the other side. Pulled no fluid.  Also tried manual method pumping the lever while nipple open, then closing.  No effect.

The only part of the system I haven’t taken apart by now is the master cylinder. It seemed to pump fluid when I first tested on the bar, but could be the problem.

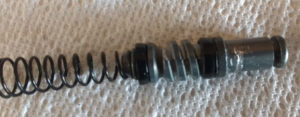
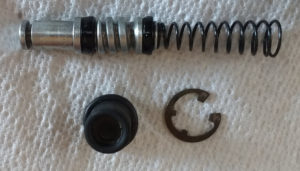
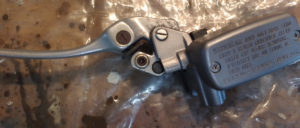
So, I removed the master cylinder assembly and disassembled.  It was difficult to get the circlip out, but I eventually did.  Two rubber piston seals looked good.  Metal piston did not look exactly like the service manual in shape, but obviously functioned. Piston was scored and scratched with sharp metal edges in two spots. Crash damage from my slide, perhaps.

Filed the damaged areas, wirebrushed, and polished the piston.

Also cleaned the inner bore of the master.  It didn’t have any apparent scoring or crusting.

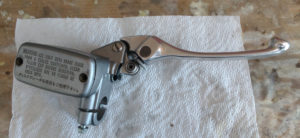
Reassembled the master with brake fluid lube and attached the lever assembly.  Piston action feels smooth. Ready to reinstall on the bar and connect lines.

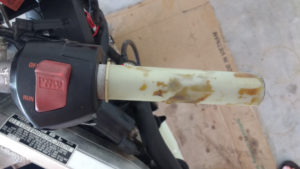
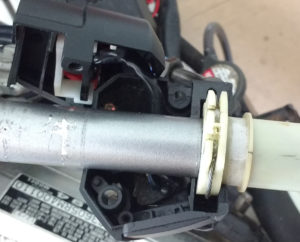
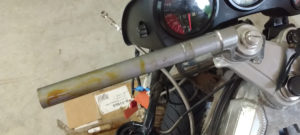
Continued disassembly of the right handlebar by removing the grip.

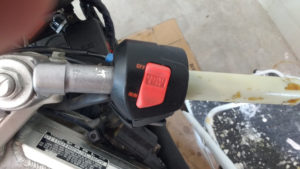
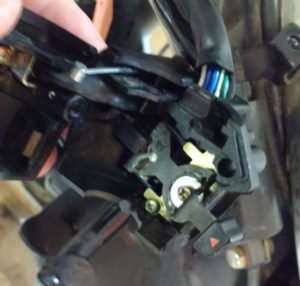
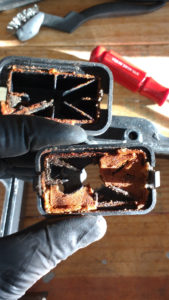
Then separated halves of the switch assembly.  Pulled out and spent a while with sandpaper cleaning that once-bright orange kill switch. Looks much better afterward.

Not yet figured out how to get throttle cables disconnected and the switch housing and throttle tube off the bar.

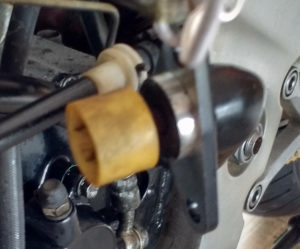
Ran WD40 down both throttle cables until it appeared at the carb ends. Cables are clear and move freely.  Throttle twist action is still very stiff, and does not spring back.  Further disassembly, cleaning required.  Probably some clean and lube needed in carb linkages as well.

Next

Getting harder to avoid pulling the carburetors: the last major mechanical system on the list.  Probably need to do that to get the throttle cables off, anyway.


Clutch slave cleaned & inspected, master off

Uploaded updated checklist [V8].

Progress today

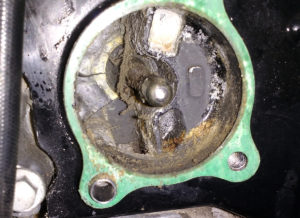
Removed speedometer sending unit to access clutch slave cylinder banjo bolt.  Cleaned the inner plastic rotating head and the opening in the cover plate.

Disconnected both ends (banjo bolts), drained the little remaining fluid, and removed the clutch hose.  Removed the clutch slave cylinder.

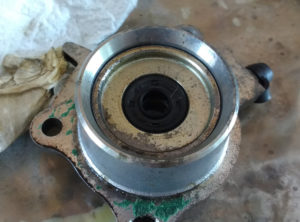
clutch slave cylinder hole, before

Scrubbed and polished the slave end of the clutch lifter rod behind the slave cylinder and cleaned out the cavity around it.  The rod was crusty, but moves smoothly in and out of its bore.

before
after

Cleaned out the slave cylinder with particular attention to the area inside the bore next to the piston.  Without hydraulic pressure, I could not push out the piston, so did not attempt disassembly.  Both the rubber oil and piston seals seemed sound, flexible, and undamaged from what I could see and feel.

before
after

Cleaned out old grease from within the oil seal, applied fresh,  and refitted the slave cylinder to the engine.  Will remove and rebuild the slave cylinder later if shown to have failed/stuck.

Reinstalled speedo sender and installed the new stainless braided clutch line at the slave cylinder end. Torqued banjo bolt to 15 ft/lbs.  Ran the master end of the line to near the handlebar for later connection.

Removed the left handlebar end-weight, grip, switch assembly, and choke lever, disconnected the choke cable, and pulled of the master cylinder/lever assembly.

Thoroughly cleaned and smoothed the bar to remove old adhesive and some rough metal.

Cleaned out and scrubbed the left switch assembly which was full of crud and somewhat corroded. Used a toothbrush with brake cleaner, then contact cleaner, lastly WD40. This smoothed the switches’ action considerably.  Also cleaned and slightly greased the choke lever.

Flowed WD40 down the choke cable.  Pulling on the lower end showed the cable moving freely in its case. Motion still seems to be stiff at the carb end – will check, clean, and lube there after carb removal.

Reassembled the switch and choke lever assembly, polished the mounting screws, and reinstalled on the left handlebar.

Next:

Disassemble and evaluate the guts of the clutch master cylinder. Hopefully it just needs cleaning, but may need rebuild with new seals.  Also polish up the clutch lever and its adjuster, and lube the pivot.

Begin teardown, evaluation

Began disassembly with some evaluation. See checklist (V2). Photos and notes for later reference on reassembly.

Items determined to need replacement today:

  • Coolant overflow bottle – brittle, broke apart at touch. Hose from radiator left in place, ok.  Drain hose in bag with tiny hose clamps, also ok.
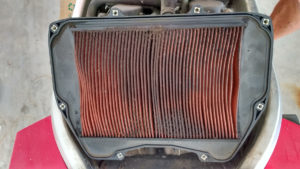
  • Air filter – not just very dirty;  oil/grease through at least 50% surface. May attempt, but probably not worth cleaning

  • Pre-(air) filter element – it had crumbled to gel/slime

Progress today

Removed lower fairing ass’y.  Cleaned up the mounting bolts/rubbers and left on the frame points.  Need to separate fairing halves to replace rashed right one.  Both screws solidy rusted in.  Used penetrating oil.  Got one off, 2nd still stubborn. Try again tomorrow.

Removed coolant overflow bottle.  

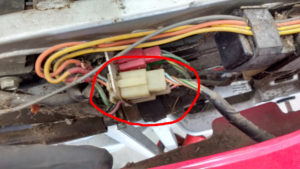
Removed tail section fairing ass’y.  Disconnected rear light wires at harness:

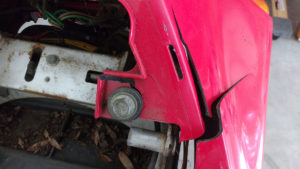
Grab bars already off – need polishing.   Both rear plastic tabs at main bolts broken off. Will have to weld/repair the left half plastic we’re keeping.

right
left

Parts marked L and R, in bag with bolts and cushion washers, which look good.

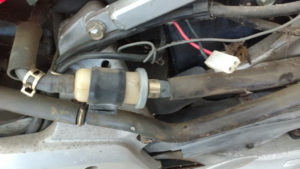
Removed gas tank with hose and fuel filter attached.

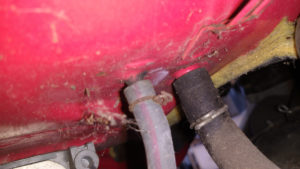
Original fuel filter location - line to carbs from fuel pump below
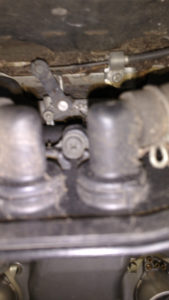
hose locations under tank; larger is breather drain
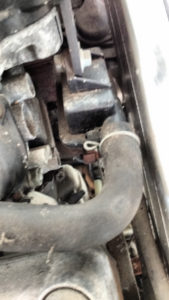
small diameter hose sticking up goes to fuel tank. Note also position of main fuel hose to carbs (on left) and breather to airbox (upper center)

Pulled out tank breather/drain tube from bike frame:  has chewed or cut parts. May replace. Tank may still have fuel in it.

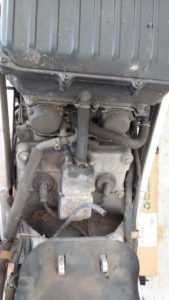
Disassembled and removed airbox ass’y with sub-filter attached.

looking forward at sub-air filter housing with hose attached

Note: one of it’s mounting screws is mostly hidden at front under forward breather tube attachments.

Inner screws are captive. Rear-most/lower (3) screws have cap and sleeve.

Removed battery and tie-wrapped wires for each terminal. They appear to be original bike wiring + alarm circuit + charger plug.

as-wired before removal

End-of-day