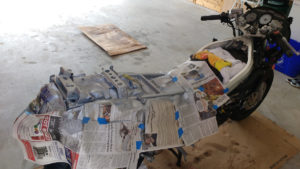
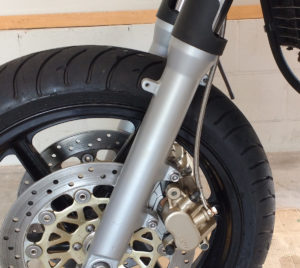
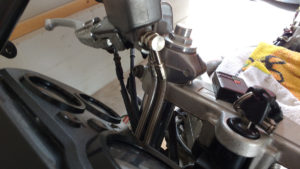
Bled front brakes, filled oil

Uploaded updated checklist [V10].

Progress today

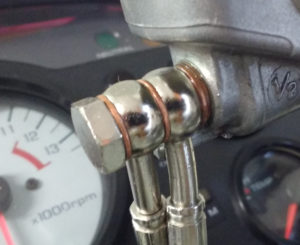
Installed the brake master cylinder and lever assembly on the right clip-on. Reconnected the two brake lines and again attempted to bleed at calipers with the Mityvac.  Still got no pressure with the bleed nipple open.  Then tried manual technique of pumping lever and then opening bleeder.  After a couple of cycles, I noticed leakage – fluid pushing out of the banjo bolt – at the master cylinder end.  It looked like it was coming from between the two hose fittings.

Took the assembly apart and replaced the copper washers.  As I was doing that, it looked like the bolt needed an extra washer at the cylinder end to make a good seal – like the threads were not seating all the way.  Added 4th washer and buttoned it all up again.

Filled reservoir, again applied the bleeder, and … success.  No more leak. Had pressure and was able to pull fluid.  Did both sides with the Mityvac, then a couple of cycles each manually with the lever.  Now have a good firm lever, and piston action at both calipers.

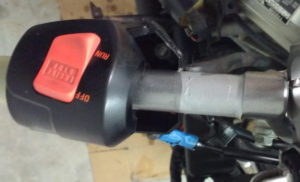
Reinstalled front brake switch on master cylinder [still need to attach wiring – after right switchgear assembled].

Temporarily pulled the brake master clamp off the right clip-on and masked/spray painted the metallic matte nickel over scratched areas on the bar under and near where the master attaches.

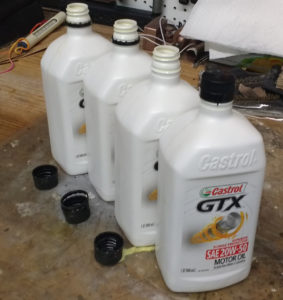
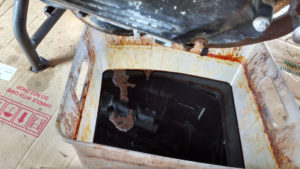
Lastly, refilled the bike with engine oil, using about 3.3 quarts of the Castrol 20W-50.

Cleaned & inspected clutch; turned engine over

Progress today

Decided to disassemble, clean, and inspect the clutch to see why it wouldn’t disengage with the lever, rather than wait until the bike is running and try to jolt it loose.

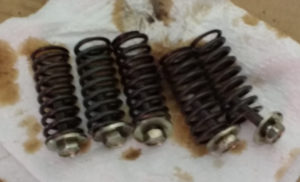
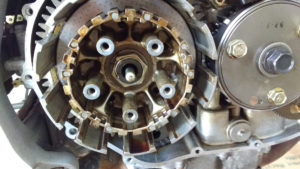
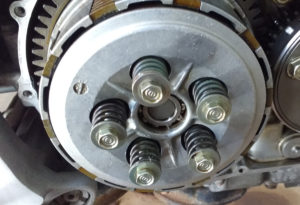
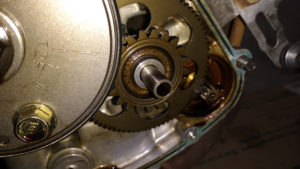
Removed side cover. Pulled out the bolts/springs and removed the pressure plate. Pulled out the lifter bearing with its guide.  It rolls smoothly and is clean.

Inside the basket the plates moved somewhat as a unit, but there was no sign of crust or goop that would explain stickiness.

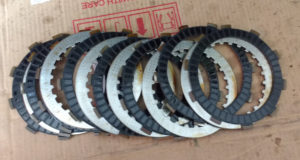
Pulled out each of the discs and plates, inspected for wear, warping, and heat (on metal plates), and stacked in order of removal. They all look in good shape.

Pulled out the judder spring and noted concave side out. No damage seen anywhere, and no debris or other crust found in the clutch basket.

Wiped each disc and plate and reinstalled them in the basket.  Installed and gradually tightened – star pattern – and torqued (9 ft/lbs) the pressure plate bolts over the springs.

Tested the clutch again and found it operates smoothly and disengages readily with the lever in.  I could see/hear the plates sliding against each other with the clutch lever applied as I turned the rear wheel in gear, but the wheel spins easily.  All good.

Later …

With the right side engine cover off again, I think it (past) time I do a quick check to be sure the engine turns over and nothing’s impeding the pistons.

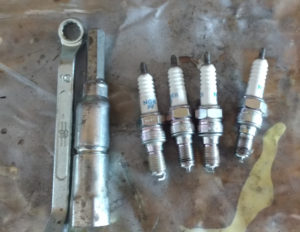
Unbolted the radiator brace and hinged the radiator out enough to get at the front spark plugs.  Used the handy Honda-supplied tools and removed the plugs from front and rear.

Stuffed the long tube attachment in and sprayed WD40 in the general direction of each spark front plug hole. Took a peek with led light in the rear holes to see if I could make out the piston tops.  Saw some grit/dirt at the bottom of both shafts.  Insect nesting or castings maybe?  Used custom cardboard-roll-and-bleeder-tube vacuum adapter and sucked the stuff out.

Then sprayed WD40 into the rear cylinders.  Let the WD40 work for about an hour in case there is any rust or crust.

Turned the engine by hand with a ratchet handle and 17mm socket on the nut at the end of the crankshaft. A little slow at one point on first rev, but smooth – no grinding or other metallic noises.  Just whoosh of air moving.  The second and subsequent rotations smooth and even. Very nice.

Reinstalled spark plugs, attached radiator bracket, and buttoned-up right side cover.

Right engine cover & subframe painted, reservoir in

Progress Sunday

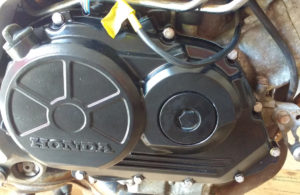
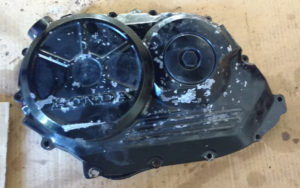
Wirebrushed, sanded, primed, and painted the right engine cover. Used DupliColor black gloss engine paint. Hung in the cooler, lower humidity sunroom to ensure good drying and hardening.  It was 90deg F, 80% humidity outside.

Progress today

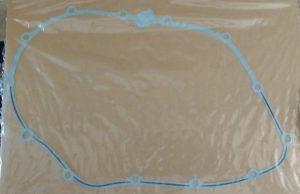
Cleaned old gasket off of engine crankcase with a small, sharp wood chisel, having covered the internal components with shop towels to keep dirt/debris out of the clutch and gears. Installed new gasket on the locating dowel pins.

Nudged cover over the pins and starter drive pin/bush (which had fallen out when I took the cover off).

Bolted up the cover with new stainless bolts and washers (M6x25, M6x30 hex head) from Lowe’s, except for one original bolt at top holding pulser wiring clip. Looks very nice now.  More of a semigloss finish, which goes well with other black bike parts.

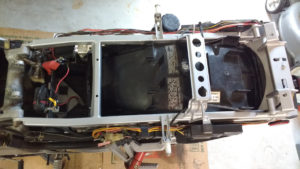
Sanded, degreased and masked off the upper part of the rear subframe.  It had some rusty patches and scrapes in the steel. Painted the subframe, using the same Rustoleum metallic matte nickel color.

Ran a 6mm bolt through the right upper fairing mounting bracket a few times and freed the formerly jammed threads. I was lucky it worked. Installed my hand-made “frankenstein bolts” on each side.

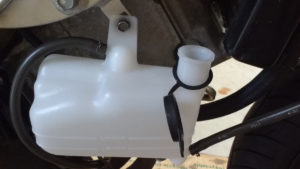
Reinstalled the new coolant reservoir bottle with existing cap and hoses.

Mounted muffler; right engine cover off

Progress today

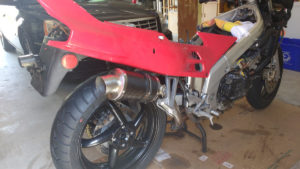
Made extended tailpipe gasket from 0000 steel wool and blended over the existing gasket portion on the factory header pipe. Fitted up new Delkevic muffler and tailpipe with supplied brackets and hardware. Wiggled a bit to get the pipe behind the passenger peg bracket and up under the bodywork edge.

Test fitted the right rear fairing piece to check clearance and alignment with the muffler.  Looks really good and the bodywork just clears the muffler mounting bolts and hanger.

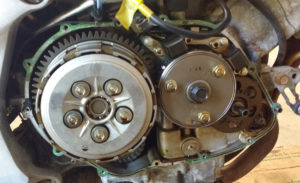
Later … removed the right engine cover for repair/repaint. It’s significantly corroded and has a scrape at lower left.

This exposed the clutch and assorted inner bits to view.

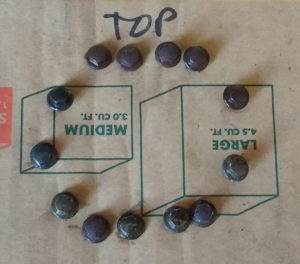
Had issues with 3 of the 8mm bolts holding the cover. Eventually used a bolt extractor, 1/4″ deep socket, and breaker bar (thanks to Dan) to get them broken loose. Organized them all on cardboard to be sure they go back in the same holes.

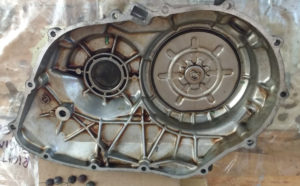
Carefully scraped old gasket material off of the inside of the cover and mopped out old oily spots.

Next:

Clean the mating surface on the engine case. Clean, sand, prep, and paint the outside of the cover, then reinstall.

Oil out; front brake lines, chain guard installed

Progress today

Drained the engine oil. Very thick and black. Not much sediment, however.

Cleaned, reinstalled, and torqued oil drain bolt.  Removed old oil filter.  Fitted new, but found the one I had belongs to 1982-88 VF700/1000s, not this VFR.

Will find another filter locally.

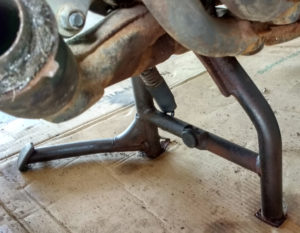
Scrubbed, wire brushed, and cleaned the center stand with WD40.

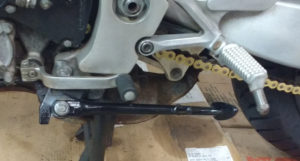
Side stand looks good, too, after reinstalling spring.

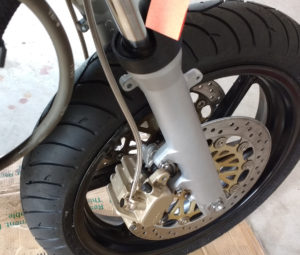
Installed two stainless braided front brake lines.

The double banjo arrangement at the master was a little fiddly. Fit only with left side hose down. Instructions a little ambiguous on that, but probably consistent.  Torqued all three banjo bolts to 15ft/lbs.

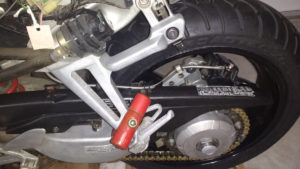
Installed the chain guard and routed the new rear brake line through the slots on the guard.

Stock muffler out

Progress Sunday

Removed up-pipe/muffler clamp. Muffler bracket bolt frozen, started to strip with open-end wrench.  Removed muffler complete with passenger peg bracket. Stripped out most of the old (steel wire/gunk) header gasket. Reference note:  inside pipe 450mm, outside diameter 550mm, so “donut” muffler gasket needs those dimensions.

Progress today

Used breaker bar (thanks again, Dan) with muffler/peg bracket in vise. Actually sheared bolt, but that got it out of the bracket, freeing the muffler.

Cleaned up stock muffler (for storage) and passenger peg bracket, for reinstall.

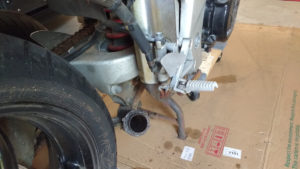
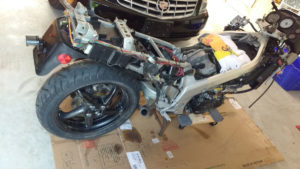
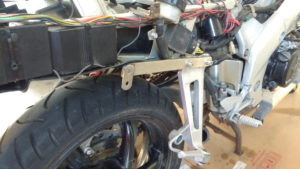
Rear-end minus pipe and passenger bracket

Added new Delkevic mounting bracket with longer, stainless socket bolts and dryfit assembly on the bike. Tested muffler fit. All OK so far.  Will test with bodywork before final assembly.