Right controls completed

Progress today

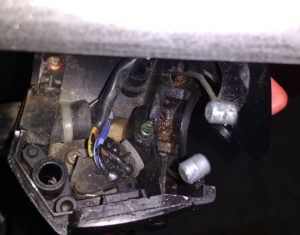
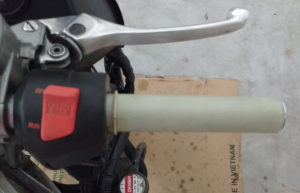
Separated right switch case halves and removed throttle cable ends from the throttle tube – I had plenty of slack with the carburetors out.

Cleaned out the switch housing and lubed both cables with WD40. Both cables slide easily in both directions.

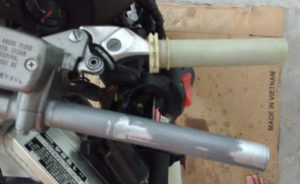
Cleaned off remaining grip adhesive on throttle tube. Sanded and cleaned the right clip on and cleaned out the inside of the tube.

Reassembled cables, switch housing, and throttle tube on the bar. Tightened the nuts at the switch end of the throttle cables.

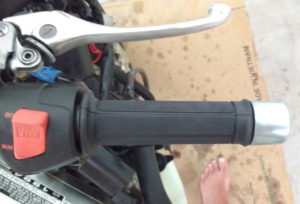
Installed new grip and the polished bar end weight.

Right handlebar complete.

Bled rear brake, carbs out

Progress today

Bled the rear brake caliper by the manual method.  Pumped the pedal and bled to Mityvac hose without pumping any vacuum pressure.  Saw bubbles in the fluid from the nipple the first couple of cycles, then none after.  Nice firm pedal feel and the brake works now.

Loosened clamp and removed choke cable at the carb end.  Unscrewed the manual idle adjustment cable/screw from the carb assembly. Left the knob and cable on the frame.

Loosened all 8 carb boot clamps. Soaked each boot with WD40 to help them slide. Levered carb assembly up off the boots – two rear cylinders forward first, then front ones back/up.

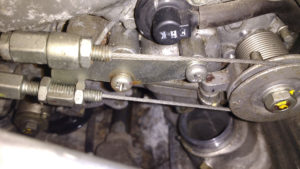
Once carbs up off the ports, removed the throttle cable holder and pulled cable ends from the carb wheel.  Cables now loose enough at the handgrip to remove and clean that assembly, as well.

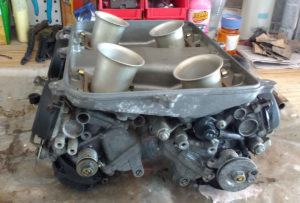
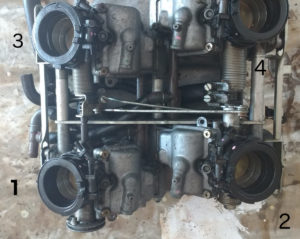
Carbs on the bench.  Will have to determine minimum disassembly needed to clean all passages/jets and change out o-rings and seals. Noticed that float bowl screws, at least, are JIS (Japanese Industrial Standard) types.  Will get the right screwdrivers before attempting to loosen those – they are very tight.

carb assembly, underside

A little worried that the choke mechanism doesn’t move much.  Can’t see any obvious problem, but not sure how it’s supposed to work, either.  Needs investigation. I hope I haven’t bent something while levering carbs off the intake ports.

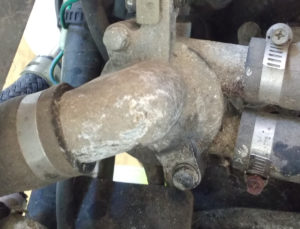
Thermostat housing also now accessible. Will replace thermostat and clean housing while we have access.

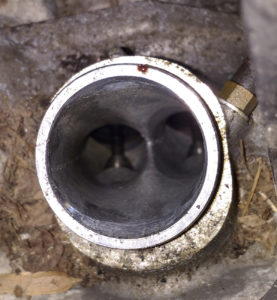
Took a look in one of the ports (#2). Not much to see, at least nothing alarming.

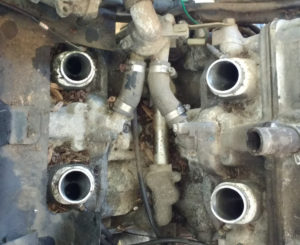
The engine “v” needs a good vacuum and clean, too.

Then stuffed paper towels into intake ports to keep everything out while apart.

Polish windscreen, begin tank cleaning

Progress today

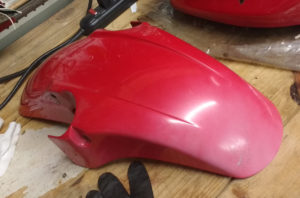
Scrubbed front fender – ready for prep & paint.

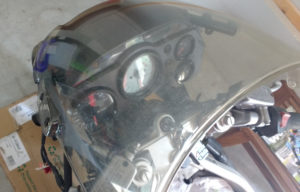
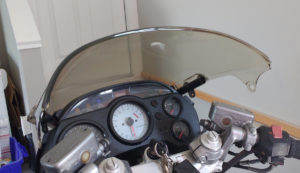
Cleaned windscreen.  Polished screen with headlight compound. About 4 passes total front and two on the back, working in small areas: about 2 hrs effort.  Pretty good clarity now with a slight gray smoked effect. Sufficient for the moment (compare to before).

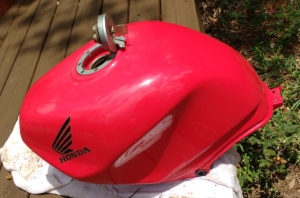
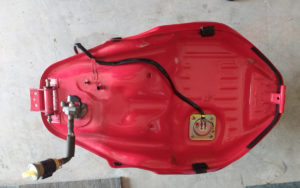
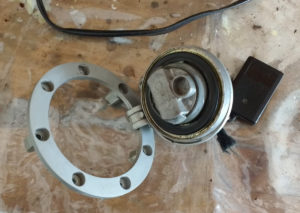
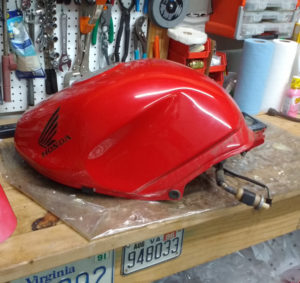
Disassembled gas tank. Removed filler cap, fuel level sensor unit, fuel petcock, and fuel hose/filter assemblies.

Cleaned filler opening on tank and filler cap surfaces.

Replaced fuel filter with glass aftermarket unit. Attached 3/8″ adapters with teflon plumber’s tape.  Clamped tank end. Hose was clear.

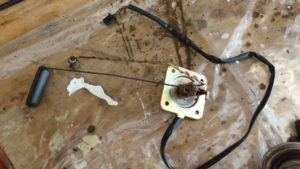
Emptied about 1/2 gallon of nasty black liquid from tank. Found about 2″ of sludge/tar at the lower end where the fuel petcock/screen enters.  Level sensor coated with sludge. Pickup tube/screen coated to 2″ from bottom. Petcock almost immoveable and full of tarry sludge.  Scraped/brushed and cleaned both assemblies with solvent.

Fuel level sensor assembly (after cleaning)
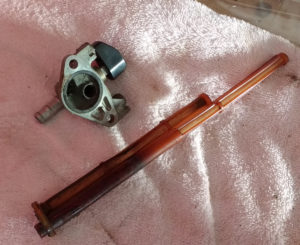
Petcock assembly after external cleaning, new inline filter

Disassembled screen and petcock.

Petcock and screen cleaning in progress

Removed o-ring and valve handle. Pulled tar out of both screen tubes and petcock body using dental pick. Soaked petcock body in Gunk can (thanks Dan!), about 2 hrs.  Final cleanout with QTips. Valve action now crisp and easy.

Used fingers to pull out gunk from tank within reach of petcock hole.  Added two hands full of pebbles and half gallon of gas and swirled/shook tank for about 30 minutes. That got another pound or two of tar out. Rinsed/swirled  several times with water/pine cleaner, then Xylol (xylene), then gas.  Lower end of tank needs further cleaning.

Next

Soak tank innards for 24hrs with pine cleaner solution. Flush tank, seal/coat. Reassemble.

Disassemble front bodywork

Progress today

Disassembled front end bodywork ass’y.  Removed and polished headlight ass’y.  Separated body panels. Moved fasteners, ducting to new right panel. Cleaned all panels and polished visible mounting bolts. Existing center and left sections will need re-paint.

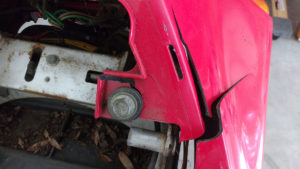
old, damaged right-front panel (inside)
new right-front panel (inside)

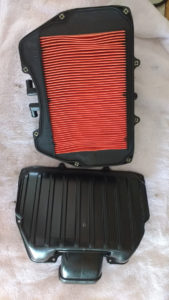
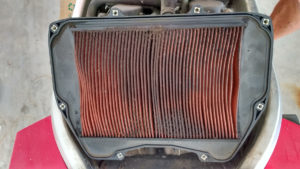
Cleaned and polished airbox ass’y, added new air filter and prefilter media. Ready to reinstall.

airbox, filter, cover

Removed front fender, ready for clean/prep.  Faded, scratched, will need paint. Polished decorative mounting bolts.

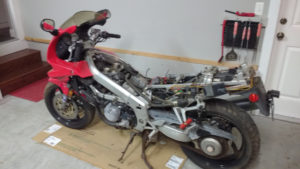
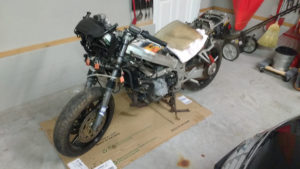
All bodywork now off bike. All but mid-fairings and two new right-side panels to be painted.

(fuzzy) naked bike

Next

Polish windscreeen. Clean/clear/inspect tank and petcock assembly. Replace fuel filter in existing rubber mount.

Begin teardown, evaluation

Began disassembly with some evaluation. See checklist (V2). Photos and notes for later reference on reassembly.

Items determined to need replacement today:

  • Coolant overflow bottle – brittle, broke apart at touch. Hose from radiator left in place, ok.  Drain hose in bag with tiny hose clamps, also ok.
  • Air filter – not just very dirty;  oil/grease through at least 50% surface. May attempt, but probably not worth cleaning
  • Pre-(air) filter element – it had crumbled to gel/slime
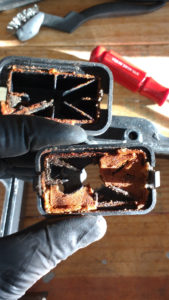
Progress today

Removed lower fairing ass’y.  Cleaned up the mounting bolts/rubbers and left on the frame points.  Need to separate fairing halves to replace rashed right one.  Both screws solidy rusted in.  Used penetrating oil.  Got one off, 2nd still stubborn. Try again tomorrow.

Removed coolant overflow bottle.  

Removed tail section fairing ass’y.  Disconnected rear light wires at harness:
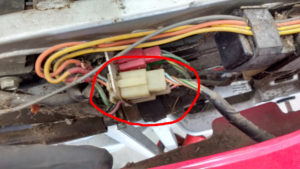
Grab bars already off – need polishing.   Both rear plastic tabs at main bolts broken off. Will have to weld/repair the left half plastic we’re keeping.

right
left

Parts marked L and R, in bag with bolts and cushion washers, which look good.

Removed gas tank with hose and fuel filter attached.
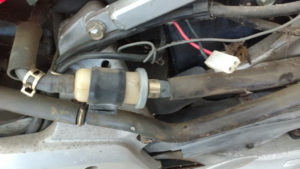
Original fuel filter location - line to carbs from fuel pump below
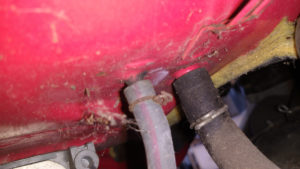
hose locations under tank; larger is breather drain
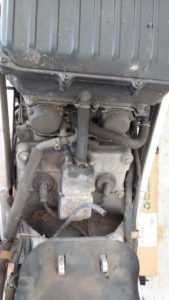
small diameter hose sticking up goes to fuel tank. Note also position of main fuel hose to carbs (on left) and breather to airbox (upper center)

Pulled out tank breather/drain tube from bike frame:  has chewed or cut parts. May replace. Tank may still have fuel in it.

Disassembled and removed airbox ass’y with sub-filter attached.
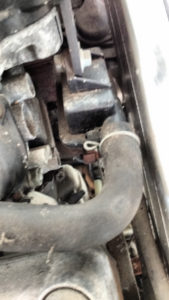
looking forward at sub-air filter housing with hose attached

Note: one of it’s mounting screws is mostly hidden at front under forward breather tube attachments.
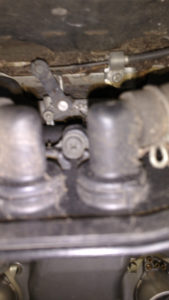
Inner screws are captive. Rear-most/lower (3) screws have cap and sleeve.

Removed battery and tie-wrapped wires for each terminal. They appear to be original bike wiring + alarm circuit + charger plug.
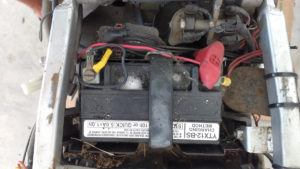
as-wired before removal

End-of-day